 |
| Looks great, right? It's been 4 weeks since I had them filled. |
Because I'm quite resourceful, I've found several little tips and tricks along the way that help me to keep my acrylics looking wearable until I can get to the salon.
So, the first thing you need to do is file them down. When they get long and overgrown, they are hard to deal with and they break more easily. You're going to need a loose grit file (80 or 100 grit) and a fine (240 grit or higher) file. Start with the rough file and run it up the sides of the nail to straighten it up and remove any rough edges, then across the top of the nail to remove as much of the length as you wish. then, using the fine file, smooth down the edges and slightly round the top corners.
Still using the fine file, and with minimal pressure, start to run the file back and forth across the nail over the ridge where the acrylic starts (about halfway up the nail, if you're 4 week out, like I am). BE CAREFUL. If you apply a lot of pressure, you'll notice the area get red and hot to the touch and that is called file burn.The red mark will stay, and if you apply new acrylic over a file burn, you'll have to grow the red mark out. If it starts to get red or hot, take a break.
You want to file them until the ridge looks more like a natural curve down to the natural nail. Be sure to nourish your nails with something awesome like OPI's Nail Envy.

You can see that they look a little worse for wear, but the shape of the nails is more natural and they'll be easy to paint over.
If you can live with the slight curve up from natural to acrylic nail, you can just use a normal nail polish over the top as you normally would. 2 coats, don't forget the top coat, and you're all done.
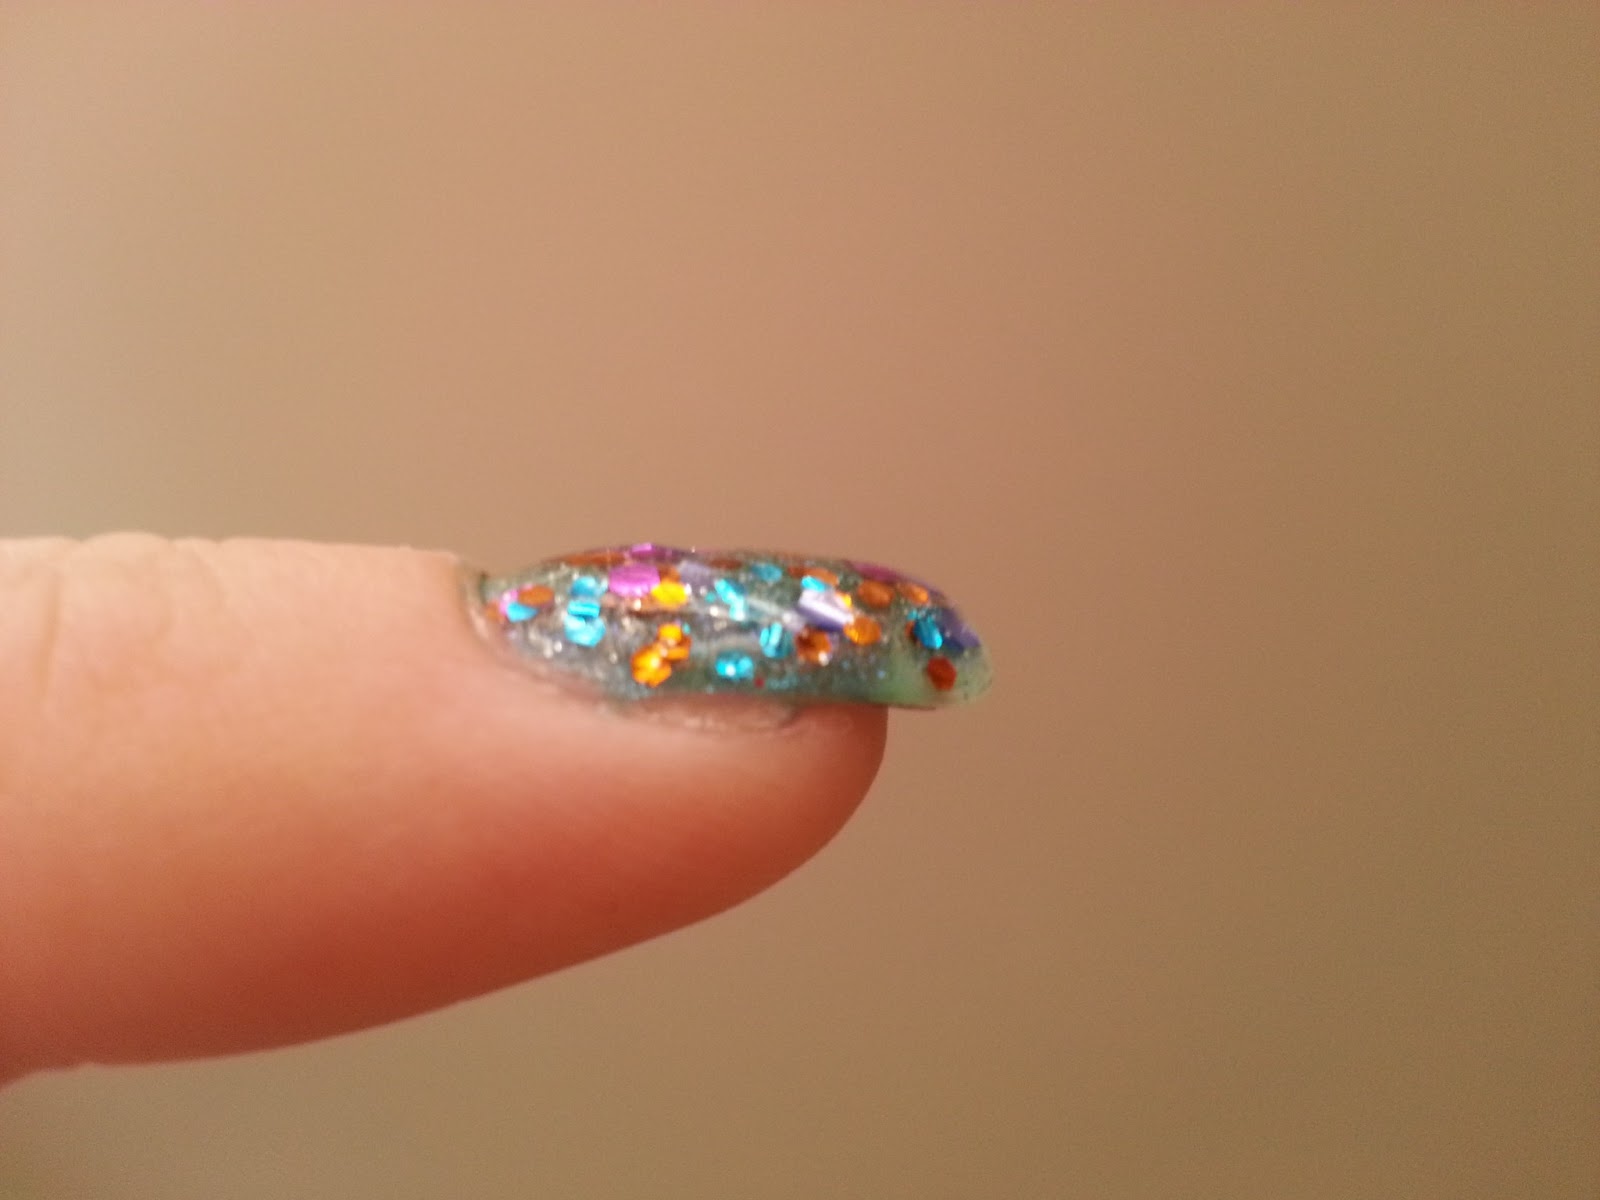
I like to keep mine looking like I get them filled every week (because, after all, I am a beauty blogger and one must keep up appearances), so I have a new product to show you that fills in the gaps and makes them look awesome.
It's BYS 3D nail art polish, and I'll tell you lots more about it in my review on Thursday, but in the meantime, let's have a look at the result:

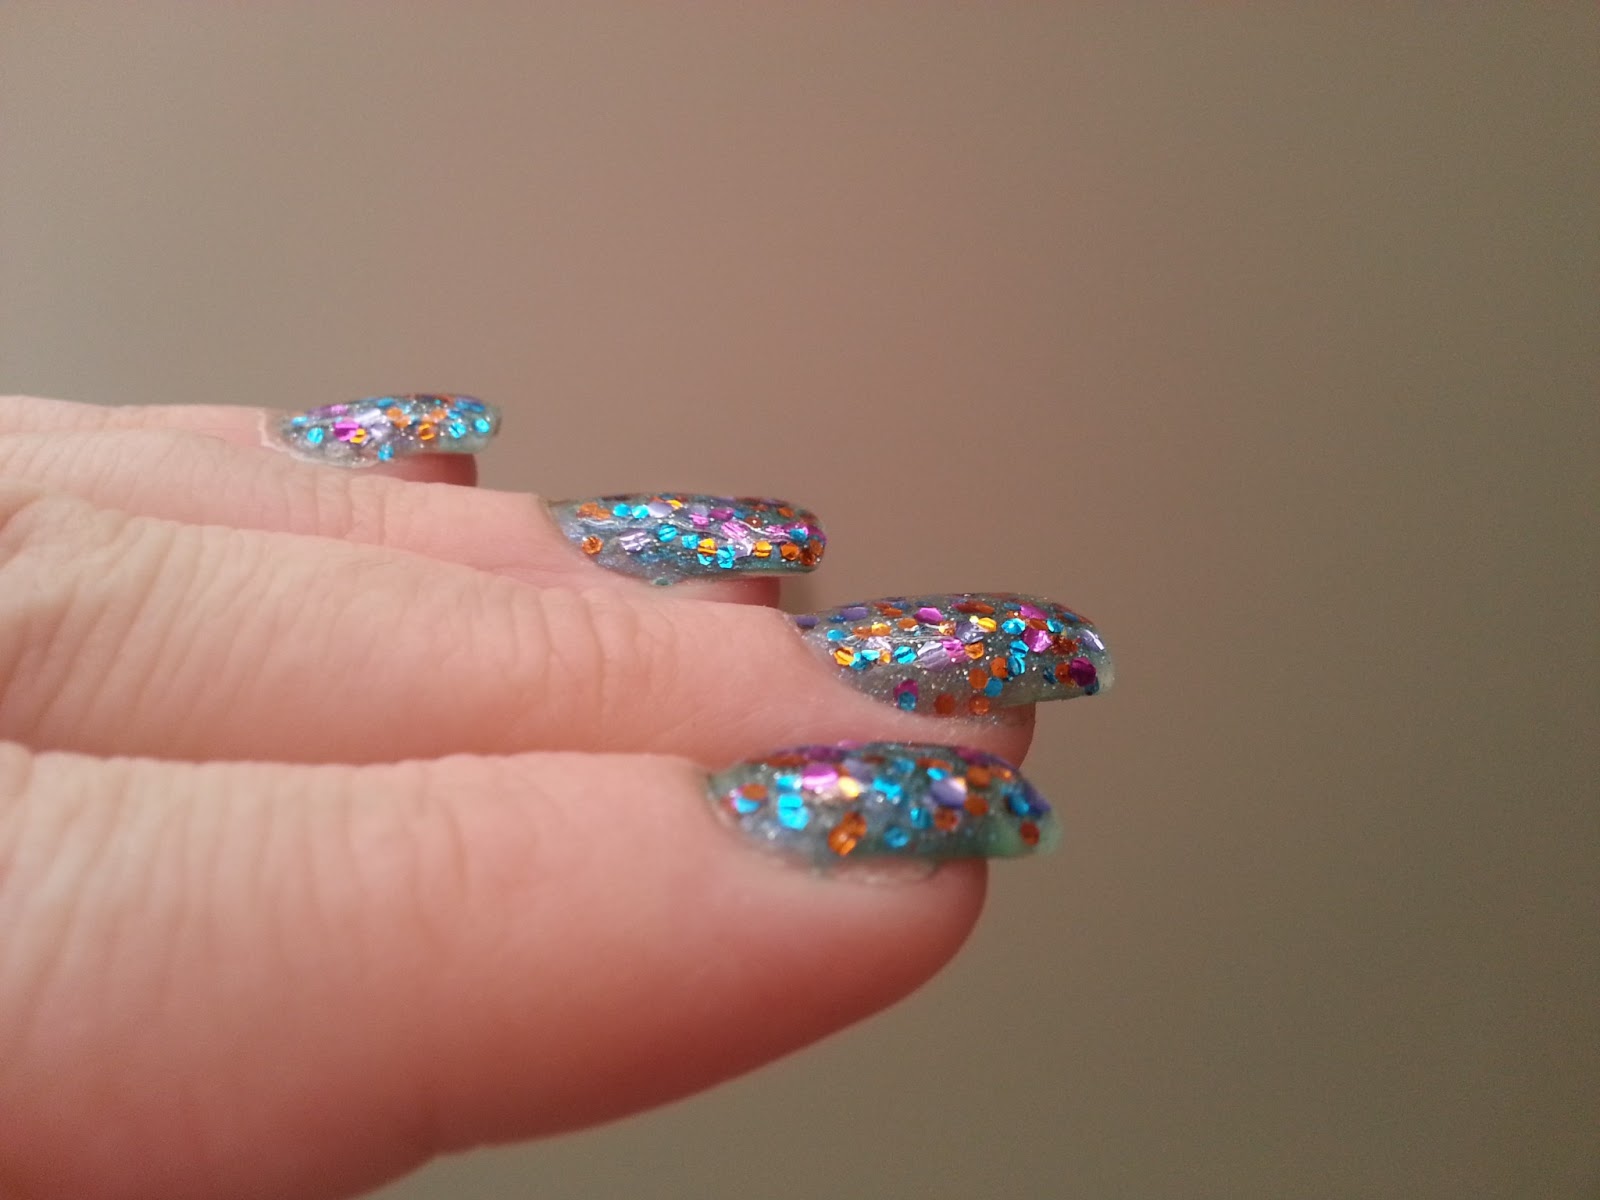 The mosaic look is really hot right now, so you'll be right on trend. The only downside is that you'll need some patience, because to get this polish to look like I have, you need 4 coats (plus top coat), so there's a lot of drying time involved. Do it when you're watching a movie.
So that's it. That's how I make my nails look just-filled even when I'm really slack or lacking in time. I wouldn't recommend leaving them for longer than 4 weeks. By that point, you'll need to soak off and start again when you do go to the salon, so it's a waste if they've only been on for a month. I'm actually considering growing mine right off, so I'll update you with how that goes, and how my natural nails fare when they have to face the elements alone.
No comments:
Post a Comment