Showing posts with label nails. Show all posts

Wednesday, 21 August 2013

SNEAK PEEK! OPI's brand new San Francisco collection!


I managed to get a sneak peek at OPI's brand new San Francisco collection a couple of weeks ago, and I wanted to wait until after the release date to show you guys and make sure that you could all rush out straight away and find these gorgeous shades in your Myer and David Jones stores!
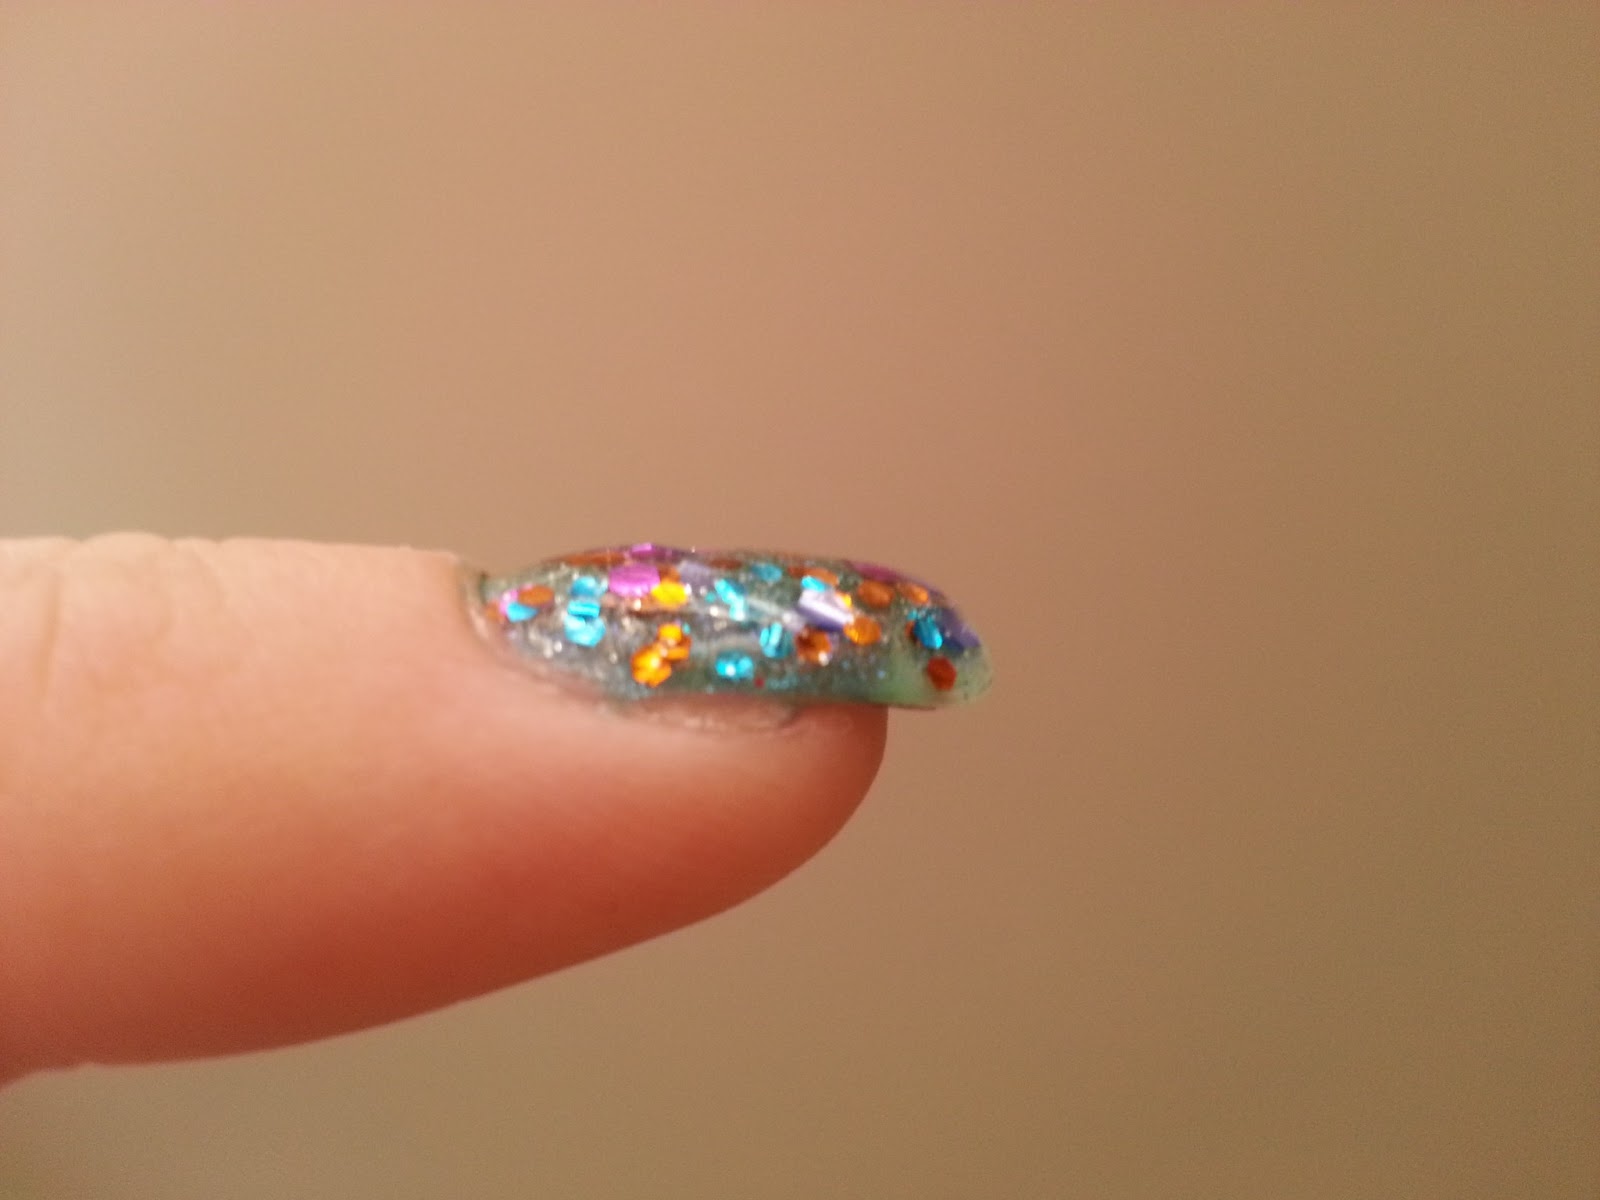
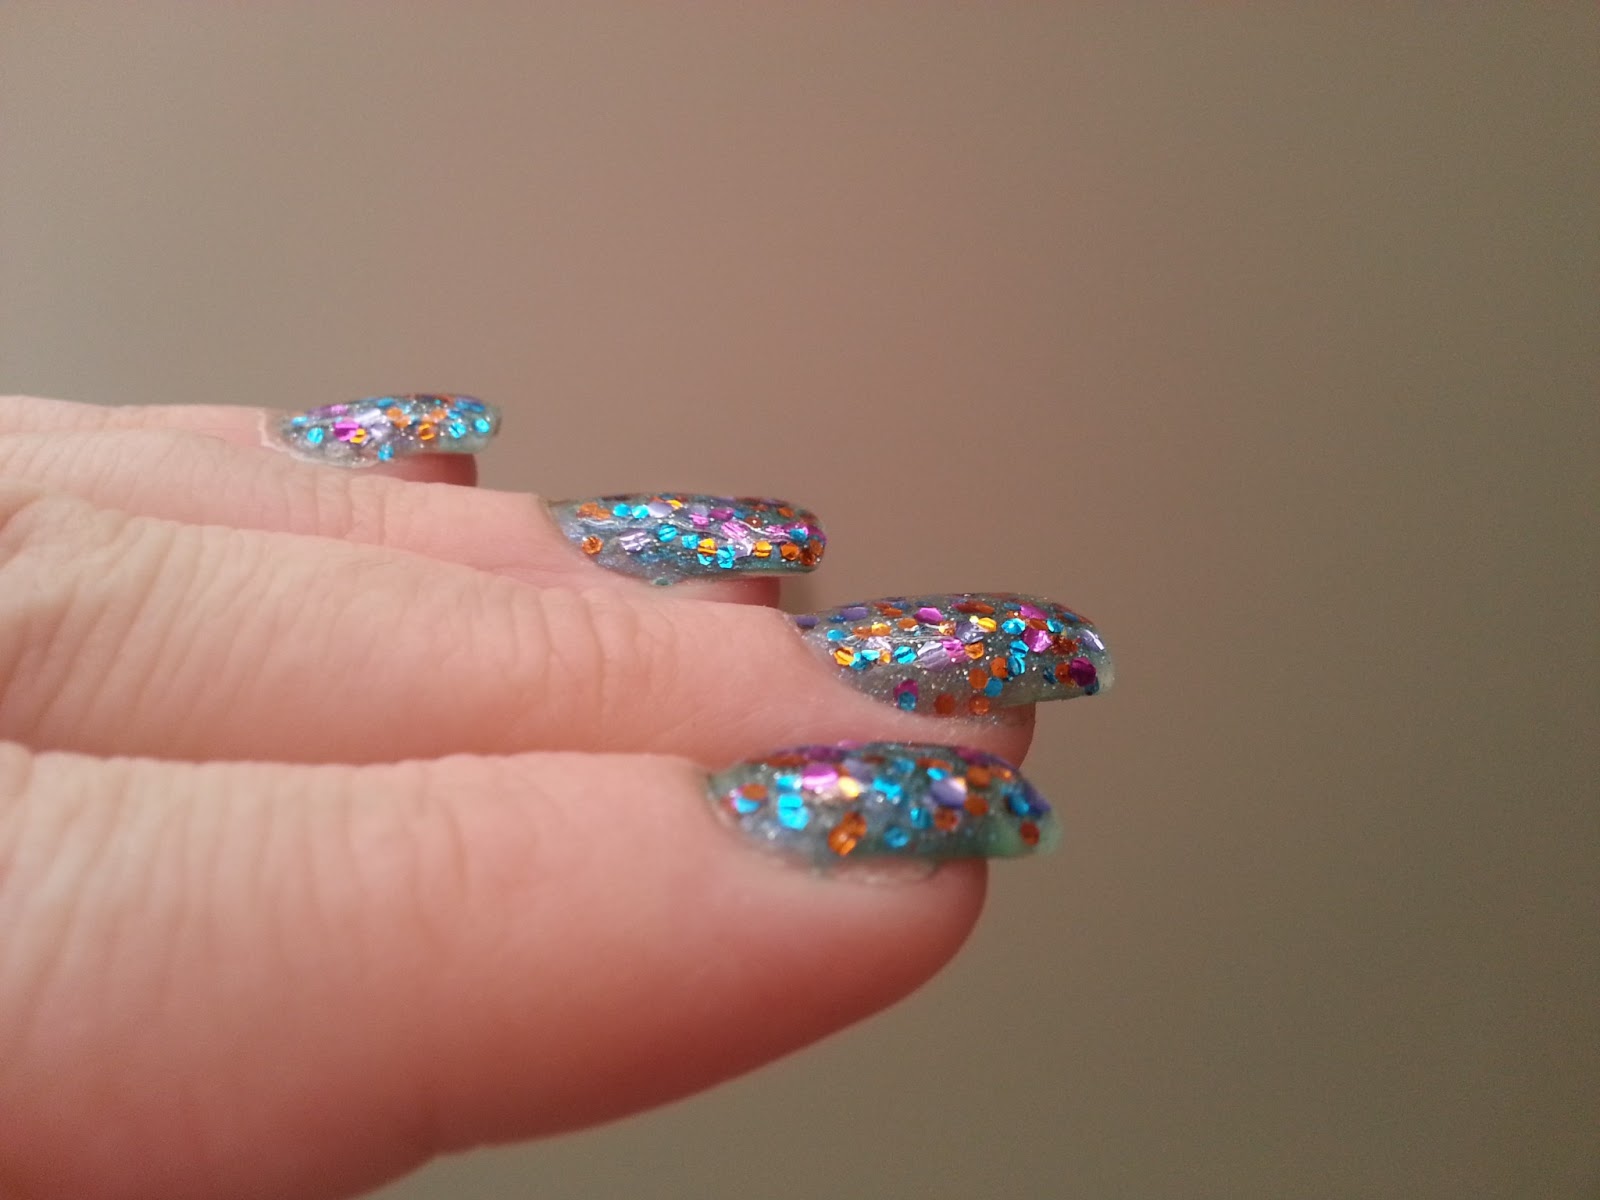
I was sent 4 of what I consider to be the best shades to try out and show you guys, and the video shows you some great ideas for nail art, as well as some awesome swatches. This collection is quite jam packed with real winning shades, from garnet reds to teals and browns, and even a holographic type of colour that I found to be really unusual and particularly appealing.

The colours, as OPI describe them, are as follows:

A-Piers to Be Tan – a chocolaty caramel tan
Dining al Frisco – feast your eyes on this fresh shade of blue
Haven’t the Foggiest – it wouldn’t be San Francisco without this misty grey
Peace & Love & OPI – an unusual holographic blend of eggplant and sage – very funky
Keeping Suzi at Bay – an assertive navy blue
Incognito in Sausalito – keep this almost-black blue under wraps
Lost on Lombard – you will get all dizzy with the glorious shade of garnet
I Knead Sour-Dough – a warm toasty brown
Muir Muir on the Wall – a trailblazing shade of plum, just ask the magic mirror
In the Cable Car-Pool Lane – get taken away with this rich burgundy.
Embarca-Dare Ya! – a marvelous magenta
First Date at the Golden Gate – a shimmery ruby
It’s All San Andreas’s Fault (Liquid Sand) – a textured earthy taupe
Wharf! Wharf! Wharf! (Liquid Sand) – a textured rich matte blue
Alcatraz…Rocks.  (Liquid Sand) – a textured shade of grey

Which one is your favourite? Is there a shade you're just dying to get your hands on? Let me know in the comments section.


Monday, 13 May 2013

Katy's top five tips for: Acrylic nails

Beginning my week of "top fives", I present to you my top five tips for choosing, dealing with, and keeping your acrylic nails looking great and lasting longer.

Tip #1: Invest a little money into good files and buffers specifically designed for acrylic nails.
Most beauty supply stores will have coarse and fine grit files, and buffers that will make your nails super-smooth. Ask the sales staff to help if you're not sure, but you definitely need a coarse grit file, a fine grit file, a buffer, and a spare file with a coarse side and a fine side to use in tip #2. All up, these should cost no more than $10.

Tip #2: BYO file! No matter what kind of salon you go to, they will almost definitely be using files on different clients. It's just the way that it's done. If you're going to a mall-type salon (you guys know what I'm talking about), the number of clients that the file has been used on will be much higher. Now think about how many times you've received a file burn or a cut from a file in a salon like that. Everyone's got an experience like that in their storybook. Here's the scary part. There is no way to sterilize a card file, so the risk of getting an infection is massive. Don't become one of those horror stories on the news, suing the nail salon. Take a little personal responsibility for the fact that you only want to pay $20 for your manicure, and spring the extra couple of bucks to bring your own file. Insist that they use it, and ask for it to be returned to you when you're done. I generally don't get any complaints or even a funny look when I ask my nail tech to use my file.

Tip #3: Always use non-acetone nail polish remover. This reduces the amount of chemical damage that you do to your acrylic, and therefore prolonging the life of your acrylic nails. This one's a no-brainer. The non-acetone removers are the same price as ones with acetone in them, and they are more gentle on real nails too.

Tip #4: Learn how to shape and shorten your nails yourself. You'll avoid breakage if you're able to file your own nails to the length and shape that you like, instead of adding 2-3 weeks of growth to the length before you go back to the salon to have them refilled and shortened. I generally find that my nails will grow out around 1cm between each refill, and so I need to keep them at a reasonable length to ensure they don't break off and cause me to prematurely hit the salon.

Tip #5: Battle the fill line! As your nails grow, the acrylic "grows" up the nail, away from the cuticle. This can result in an ugly "bump" in your nails. Using your fine grit file, you can gently file down the fill line to give your nails a more even and natural-looking shape. Once they are painted, nobody will even know you need a refill!


Tuesday, 23 April 2013

Sally Hansen Magnetic Effects Nail polish

I received this little gem in my April bellabox and I couldn't wait to try it out, but because I had my Salon Effects tattoo strips on my nails, I had to wait!

By now, you've probably all seen these kinds of nail polishes. They all have magnetic particles which are repelled or attracted by the magnet that's used over them when they're wet to create a pattern, and when they dry that way, they stay that way.

This one is a lovely bronze colour which will get worn to death in my house. I even have some ideas to throw it together with an OPI liquid sand polish that I have for a bit of a mix-and-match manicure.

It's really easy to use. The only drawback is that you have to be really careful  not to get too close to the wet polish with the magnet and wreck your polish, but you also don't want to be too far away. This one has a great little guide thingee on the cap, which helps, but you still have to be especially careful of your angle.

You can find this anywhere Sally Hansen products are sold, including Priceline, Pharmacies, Target, Woolworths, KMart, BigW, and Price Attack.

Friday, 19 April 2013

Tattoo designs from Sally Hansen nail effects


When I was in Priceline the other day picking out some goodies to qualify me for the Beauty Bag, this little gem literally threw itself off the shelf at me, and I instantly loved it for a bit of playful colour and semi-tacky awesomeness.
I think it's a great idea every now and then to just go completely silly with your nail art and rock something that you usually wouldn't. These stood out, maybe it was the butterflies, maybe the lovey-dovey writing (I'm currently quite loved-up myself), I don't know. I just liked them. I've had so many amazing comments about them from people out and about, so I figured I should share them with you.

Sally Hansen Nail Effects strips have been around for a while. I did a post back in October about their Halloween designs. They are so easy to use, you basically just peel the backing off them, line them up with your nail, smooth them on and file off the excess. They are instantly dry (though I always put a coat of top coat over them to increase their longevity) and so far, after a week of wear, I'm seeing virtually no wear at all on them. In fact, I'm going to have to remove them soon because my nails have grown and they are moving away from my cuticles now.

Go check them out today, they are available from KMart, Target, Big W, Priceline, Price Attack, Myer, David Jones, Woolworths and pharmacies.


-->

Monday, 8 April 2013

Eye of the tiger: Nails with a little extra..grrr...

I know it's been a really long time since I have done a nails post, and I tried doing the natural nails thing for a while, but this weekend, I went to a wedding and I wanted to look my best, so I got my acrylics re-done and I feel like myself again!


For the wedding, I wore a black dress with some ruffles and draping detail, so I wanted to keep the nails quite simple, but at the same time, add just a little pizzazz to them, so I decided on a nude base with tiger stripes, and a swarovski crystal accent on one nail.

I can't remember where I got my swarozski nail art crystals from. I know that you can pick up something similar in most stores that sell nail polish, and most definitely online. EBay have some really great options.
I started with my favourite nude polish, Glints of Glinda, from OPI's Oz the great and powerful collection. Two coats is enough for an opaque base, and I let that dry completely before going in with my nail striper to create the tiger stripes.

I've done a tutorial on my youtube channel about how to make the tiger stripes, so go check that one out (tigger nail art tutoral).

Last of all, on the ring finger nail, which I covered entirely in the stripes, I placed a swarovski crystal accent, attaching it with a tiny bit of clear polish. Once the stripes were completely dry, I coated everything with clear polish, working from side to side so as not to streak the stripes the wrong way up the nail.

And that's it, it's a really simple look, with lots of personality. Try it out for yourself!

You can look forward to lots more nail tutorials and look-books now that I have my beloved acrylics back. They are costly to maintain, and they are so damaging to the natural nail underneath, but I do love them, and I feel like it's a worthwhile investment.


Wednesday, 6 March 2013

Trendsday - Gimicky nail art

I don't know what it is about painting really funny, cute, gimmicky things on finger and toe nails, but it seems to be quite the trend lately, and one that I'm really enjoying.

It started probably 6 months ago, and as more and more products for producing good quality nail art are released, it's catching on more and more.

My advice, when you're looking for good products to use for nail art, is to invest in some good striper polishes and practice with them.
 "Good" doesn't always mean high priced, and there are some really great options for under $10 each, including CM, BYS and pretty much any other brand that does a dedicated art polish with a very thin striper brush.

You can, of course, use nail art brushes with your normal polishes. Be sure to clean them really well between uses.

So what sort of ideas do we have for cute, funny nail polish, and where do we find more ideas?

Well, first of all, there's the Tigger tutorial on my Youtube channel ( www.youtube.com/katysbeautysecrets ).
 Then there's the ever-popular patriotic-type nails with union jacks and stars, like the ones I did for Australia day. I'm actually going to do an American version very soon.

I think I told you guys a few weeks ago that I was growing off my acrylic nails, which I did, and now I'm just waiting for the natural nails to grow a bit more before I do some more tutorials for you.

If you have short nails or you can't wear crazy polish to school or work, there is always another option.
You could try a cute pedicure, which will be hidden inside your shoes for the daytime, but will keep you entertained once your shoes come off, like my cookie monster pedi above!.

I'm always looking for nail art ideas, and the majority of my ideas come from online and Instagram. I have inherited my dad's knack for copying things, and it extends to most areas of my creativity. The techniques used are very simple, though, and once you master the art of the nail art brush, the world is your oyster. Enjoy!


Wednesday, 6 February 2013

Trendsday: Textured nail polish.

Last week, I showed you a sneak peek of OPI's new Great and Powerful Oz collection, and I touched on the awesomeness of their new Liquid Sand technology, which essentially leaves a texture on your nails like very fine sandpaper, with a matte finish.

As you can see in this first picture, the Liquid Sand polishes also have a kind of shimmer to them, making them truly unique and really awesome to look at.

These two colours are "Can't let go" and "Get your number" from the Mariah Carey collection that was recently released. They have chunks of glitter in them (of course!) and the Liquid Sand matte finish. I'm kind of in love with these Liquid Sand polishes. There isn't a bad shade, and there are lots to choose from, so you'll find a colour to match any outfit or occasion.


The next colour I've shown here is actually not done justice by the picture. The polish is an almost-sheer black with red glitter, and of course that awesome Liquid Sand matte finish. This polish is going to feature in my birthday OOTD video on Friday night (Which I'll post on Saturday for you guys), because it's the perfect accessory to my gorgeous black ruffle tunic from City Chic (which I'll be wearing as a gorgeous dress, all dressed up with some sexy shoes, it's perfect for summer special occasions!).

This is another colour from the Mariah Carey collection, called "Stay the night".

Last of all, we have the gorgeous bronzey-gold Liquid Sand polish from the Great and Powerful Oz collection called "What wizardry is this?". I've teamed it up for a funky geometric look with the nude from the same collection, called "Glints of Glinda".

I actually think this is my favourite "everyday wear" colour in their Liquid Sand polishes. It's got a shimmer, rather than a glitter, and it is just a really great allrounder colour, it goes with any outfit, so you can wear it all week to work before you let your hair down with one of the glitzier colours on the weekend. Definitely my pick of the bunch.

The last thing I want to tell you about this polish is that, unlike other glitter polishes, it's really easy to remove! I know a lot of you steer clear of glitters because they are so notoriously difficult to remove, but you need not be scared of this one.

So... what do you think of OPI's LiquidSand polishes? You can get some for yourself from leading salons and David Jones nationwide.

Full disclosure: The awesome people at OPI sent me these polishes to try out, but of course my opinions are always my own, and I was not paid for this review.

Wednesday, 30 January 2013

Trendsday: Storage

Looking at my current storage "solution" for nail polish, it's becoming clear that a new solution is needed, and fast. My mother loves my overflowing "Frequent Flyer" overnighter, because every time I can't close the lid, I do a clear out and give her a bunch of polishes.

I'm not as happy with the arrangement. I'd really like to have a proper storage space for my polishes so that I can see what I've got and not have them all clinking around up against each other, upside down and all over the place.
Pic via Pinterest

A lot of beauty people are using storage shelves like you'd see at a nail salon, but I'm not sure that's a great option for me. My kids are awesome, but I feel like they would both get into the polishes if they were left out on display, and I REALLY don't want my lovely new carpet to meet with an unfortunate incident involving nail polish.

Likewise, an open drawer that anyone can look into at any time will be problematic.

However, I do have a double-door cabinet under the bathroom sink that I feel I could install a lock on. There are 2 shelves in there that I usually keep my hair styling tools and  box full of extra things, doubles of makeup, eyelashes I haven't opened/used yet, new packets of sponges, that kind of thing.

I'm sure all of the things that are currently residing in there could be relocated or moved to the bottom shelf, freeing up the top for my nail polishes!

I'll keep you all updated with how it goes, and post pics once it's done. Tell me, how do you store your nail polish collection?

UPDATE: I got motivated and did the under-sink storage immediately after I posted this blog. Here's the result:

Glitter polishes at the back, then nail art stripers, then metallics, top and base coats up one side, and crackle/shatter finishes up the other, then organized by colour.

I'm still not 100% happy with the way it's organized, but it's definitely better than the bag they were all rolling around in.

Monday, 28 January 2013

Sneak peek: OPI Great and Powerful Oz collection.


 I have loved all things Oz since I was a little girl, so when OPI released their new Great and Powerful Oz collection, I will admit I did a little happy dance and made  little squee noise.

Even better than the fact that they are Oz inspired, is the fact that every shade in the collection is classy and wearable with pretty much everything.

From white, to nude, to pink, silver, gold and all the sparkle of confetti polishes, it's a really lovely collection.

These are the kind of colours you could make work for any occasion, so for me, they are a must-have collection for any nail polish lover!


 The two confetti polishes feature in silver and gold, and would add just the right amount of sparkle to any party outfit.


The best part is the very last colour you see here, "What wizardry is this?", which is one of OPI's new Liquid Sand polishes, which provides a matte finished, 3D "sand" look on the nail and is a really awesome feature. Stay tuned for some great looks I'll be putting together very soon with OPI's Liquid Sand polishes.

Friday, 25 January 2013

'Straya Day nails!

Tomorrow is Australia Day! I'm celebrating by doing some awesome  Aussie flag nails.

This was actually really, really simple to do with a blue base and my red and white nail art stripers.

How are you showing your Aussie flair on this Australia day?

Thursday, 24 January 2013

Review: BYS 3D Nail art polish

 Browsing around Gloss the other day, I picked up this awesome little gem. I covered it a little bit in my Monday how-to post this week, but I'll go into a bit more detail on it now.

It's basically a glitter polish, but the glitter is really, really chunky.

It takes a bit of patience, but when you get enough coats on there, it's a really awesome look that will last for ages.

To make it look like it does below, you need to start with a base of colour. I used a blue from the OPI Texas collection. Then I did 4 coats of the 3D polish, then topcoat, waiting for each coat to dry before adding more.

It's the kind of nail stuff to do while you're watching a movie, or have a good half hour of quiet time.

I think you'll agree that the effect is well worth the extra time.


Monday, 21 January 2013

Monday how-to: making your acrylics look better for longer between fills.

Looks great, right? It's been 4 weeks since I had them filled.
Maybe you're on a budget, or maybe you are like me and extremely time-poor (getting an appointment when I don't have the kids is a nightmare), but sometimes, you have to go a little bit longer between refills of your acrylic nails. Usually, this results in really horrible-looking hands with gross, bumpy nails that look terrible.

Because I'm quite resourceful, I've found several little tips and tricks along the way that help me to keep my acrylics looking wearable until I can get to the salon.


So, the first thing you need to do is file them down. When they get long and overgrown, they are hard to deal with and they break more easily. You're going to need a loose grit file (80 or 100 grit) and a fine (240 grit or higher) file. Start with the rough file and run it up the sides of the nail to straighten it up and remove any rough edges, then across the top of the nail to remove as much of the length as you wish. then, using the fine file, smooth down the edges and slightly round the top corners.

Still using the fine file, and with minimal pressure, start to run the file back and forth across the nail over the ridge where the acrylic starts (about halfway up the nail, if you're 4 week out, like I am). BE CAREFUL. If you apply a lot of pressure, you'll notice the area get red and hot to the touch and that is called file burn.The red mark will stay, and if you apply new acrylic over a file burn, you'll have to grow the red mark out. If it starts to get red or hot, take a break.

You want to file them until the ridge looks more like a natural curve down to the natural nail. Be sure to nourish your nails with something awesome like OPI's Nail Envy.

They should then look like this:

You can see that they look a little worse for wear, but the shape of the nails is more natural and they'll be easy to paint over.

If you can live with the slight curve up from natural to acrylic nail, you can just use a normal nail polish over the top as you normally would. 2 coats, don't forget the top coat, and you're all done.

I like to keep mine looking like I get them filled every week (because, after all, I am a beauty blogger and one must keep up appearances), so I have a new product to show you that fills in the gaps and makes them look awesome.

It's BYS 3D nail art polish, and I'll tell you lots more about it in my review on Thursday, but in the meantime, let's have a look at the result:
The mosaic look is really hot right now, so you'll be right on trend. The only downside is that you'll need some patience, because to get this polish to look like I have, you need 4 coats (plus top coat), so there's a lot of drying time involved. Do it when you're watching a movie.


So that's it. That's how I make my nails look just-filled even when I'm really slack or lacking in time. I wouldn't recommend leaving them for longer than 4 weeks. By that point, you'll need to soak off and start again when you do go to the salon, so it's a waste if they've only been on for a month. I'm actually considering growing mine right off, so I'll update you with how that goes, and how my natural nails fare when they have to face the elements alone.

Wednesday, 9 January 2013

Trendsday: Lips'n'tips

Colour blocking is officially done, over with, goneski from the trends of 2013.

What's stepping into its place? The old "Lips'n'Tips" from the 50's! Matching lipstick to your nail and toenail polish for a refined look.

I, personally, couldn't be happier! I loveovelove anything retro that dates back to the 40's and 50's, and this is no exception.

Two notable brands who have hopped onto this trend right from the start, and they have both released lips'n'tips packs so we don't have to go searching for perfectly matched lipglosses and nail polishes.

OPI and Butter London have got some really gorgeous matchy-matchy colours for us to try. I was checking the OPI ones out this week in my local beauty supply store and I am having a hard time choosing just one. It may need to be a double feature!

I'll pop a review up once I have tried them out. I haven't tried lipgloss from OPI, but I did used to use their Avoplex lip treatment before they discontinued it, and LOVED it.

What do you think of the new lips'n'tips trend?