
Tomorrow, I'll show you the rest of the look, using my Models Prefer Sweet Kisses tin!


 |
| This look was created using Australis products. If you'd like to see a tutorial, let me know in the comments. |
 |
| And here is the "flash photography" picture that was missing from the video. As you can see, for a face that looks so flawless under natural light, it's certainly not a great look when the flash illuminates it. |


.jpg)


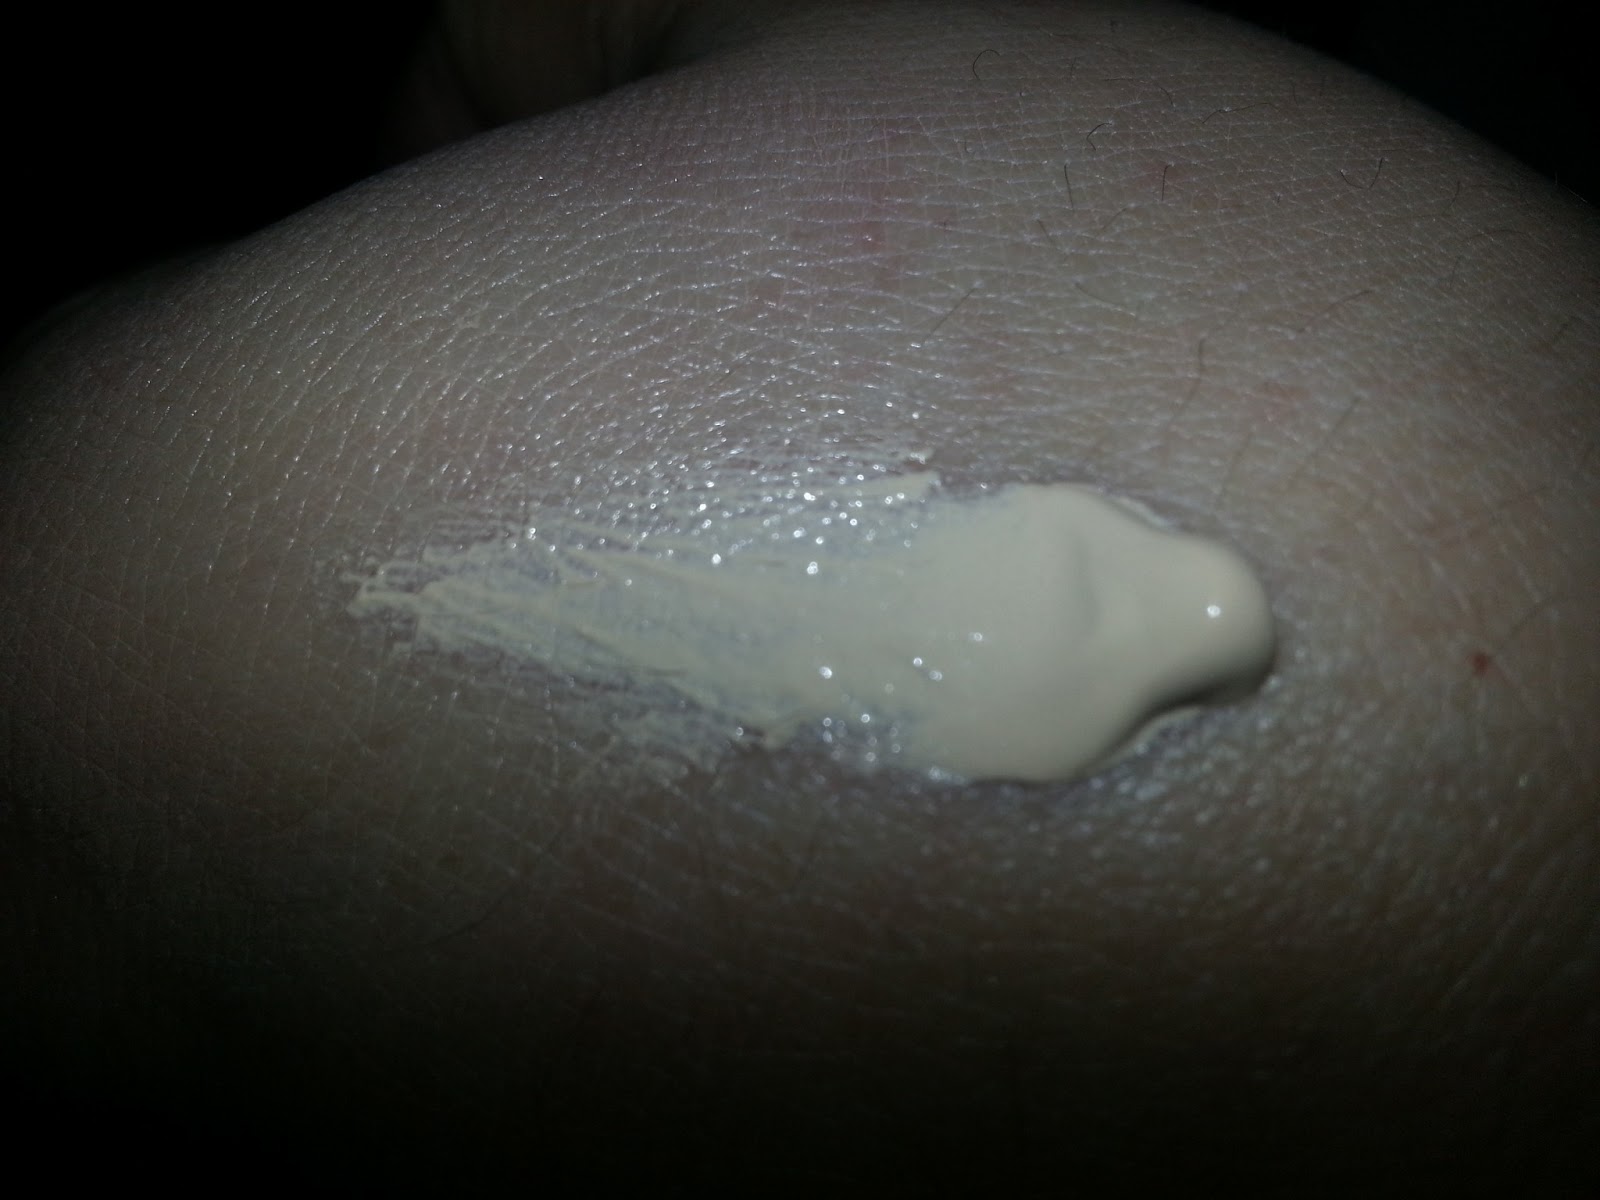
 First, let's start with the primer. Innoxa Pure silk skin primer is a really superlight formulation, almost a gel consistency, and clear in colour. I almost expected it to feel like water on my skin, but it really feels like smoothing a layer of silk over your face. I have some very high end products that cost a fortune, and do roughly the same thing. I'd even go as far as to say that this product is better, at half the price.
 Then the foundation. I am a big fan of high end foundations, and I've tried just about every awesome $70 foundation there is to try. Innoxa Long Lasting foundation is amazing. It's my new favourite base product. Its anti-ageing, light-reflecting. 16 hour lasting formula really does what it says it will do. I even (naughty, I know) fell asleep last night after a party with my makeup still on and woke this morning with a perfect face of makeup still applied. A good base makes all the difference when it comes to things like your colour products smudging, migrating, or wearing off altogether. Even my eyeliner (which sometimes moves into the outer corners of my eyes and smudges) was still exactly where I'd put it almost 24 hours earlier!
 |
| This base is MAC matchmaster liquid foundation and Rimmel Stay Matte powder to set it. |


 Here's a little something that a lot of people don't even think about. When we apply mascara, we generally go in from underneath and coat the underside of the lash, but you can achieve a much fuller look by remembering that lashes are cylindrical, and a good coat from above is important to get the whole lash working for you. I often get comments about my lashes (twice now from heterosexual manly-men without makeup knowledge!), asking me where I got them, because people assume they are false lashes. Then when I explain that they are my real ones, I'm often asked how I get them looking so full....and now you all know my secret!


.jpg)